
If you have ever wondered how to make bean to bar chocolate in your own home, this post is for you! Although this process is time-consuming, it is not difficult, and the reward is delicious! There are five basic steps to making bean to bar chocolate, which include the following:
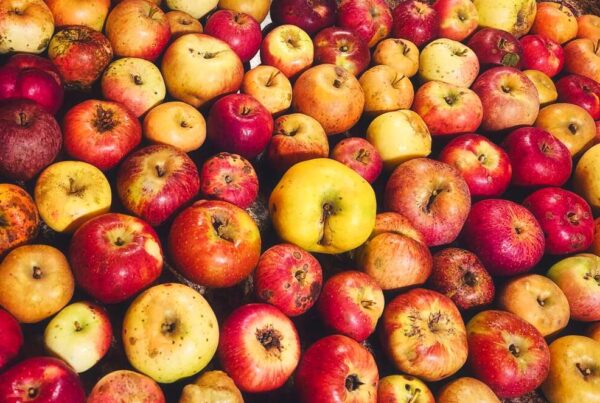
- Source cacao beans
- Roast beans
- Remove shell
- Melange and add sugar
- Temper and mold
Step one, source cacao beans
Unless you live in the tropics or raise theobroma cacao trees in a backyard greenhouse, the internet is likely your best source for beans. If you do not wish to purchase enough beans to fill your entire garage, I highly recommend Chocolate Alchemy as a way to buy a reasonable amount. They offer a selection of beans from various origins.
Step two, roast beans
If you read one of my original posts on how to make your own cacao powder, you noticed I used a toaster oven. Although this will work in a pinch, for making chocolate bars I recommend using an oven you trust to hold steady temperatures. This way you can replicate your roast in the future, should the chocolate be delicious.
Set your oven to 350 degrees and spread about a pound of beans on a baking tray. You may notice objects such as rocks interspersed with the beans; I recommend removing these, and any moldy or completely flat beans prior to roasting. Stay near the oven during the roasting process (typically between 12-30 minutes).
Remove the tray from the oven when your kitchen smells of chocolate, or when you hear crackling or popping noises. Take note of cooking time for future reference. You may wish to immediately roast another batch or two for a couple minutes more/less to compare with your first batch. As my initial batch began making crackling noises at 17 minutes, I also roasted a pound of beans for 15 and 19 minutes.
Why experiment with different roasting times? The simple answer is that roasting time can significantly alter the flavor of your chocolate. For example, in our first try (Ivory Coast beans from Chocolate Alchemy) the beans roasted for 15 minutes tasted more nutty. The 17 minute batch tasted more earthy and had a hint of coffee flavor.
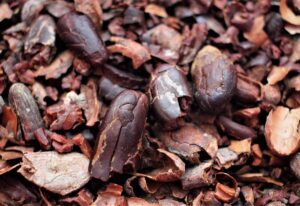
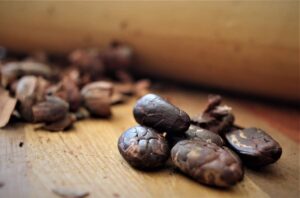
Step three, remove the shell
In my post on making cacao powder, this step was absent. I had peeled the shell off my beans, one at a time, while they were not yet dry. This was a gooey, painstaking affair that I would not recommend unless you are bored and wanting to make a mess.
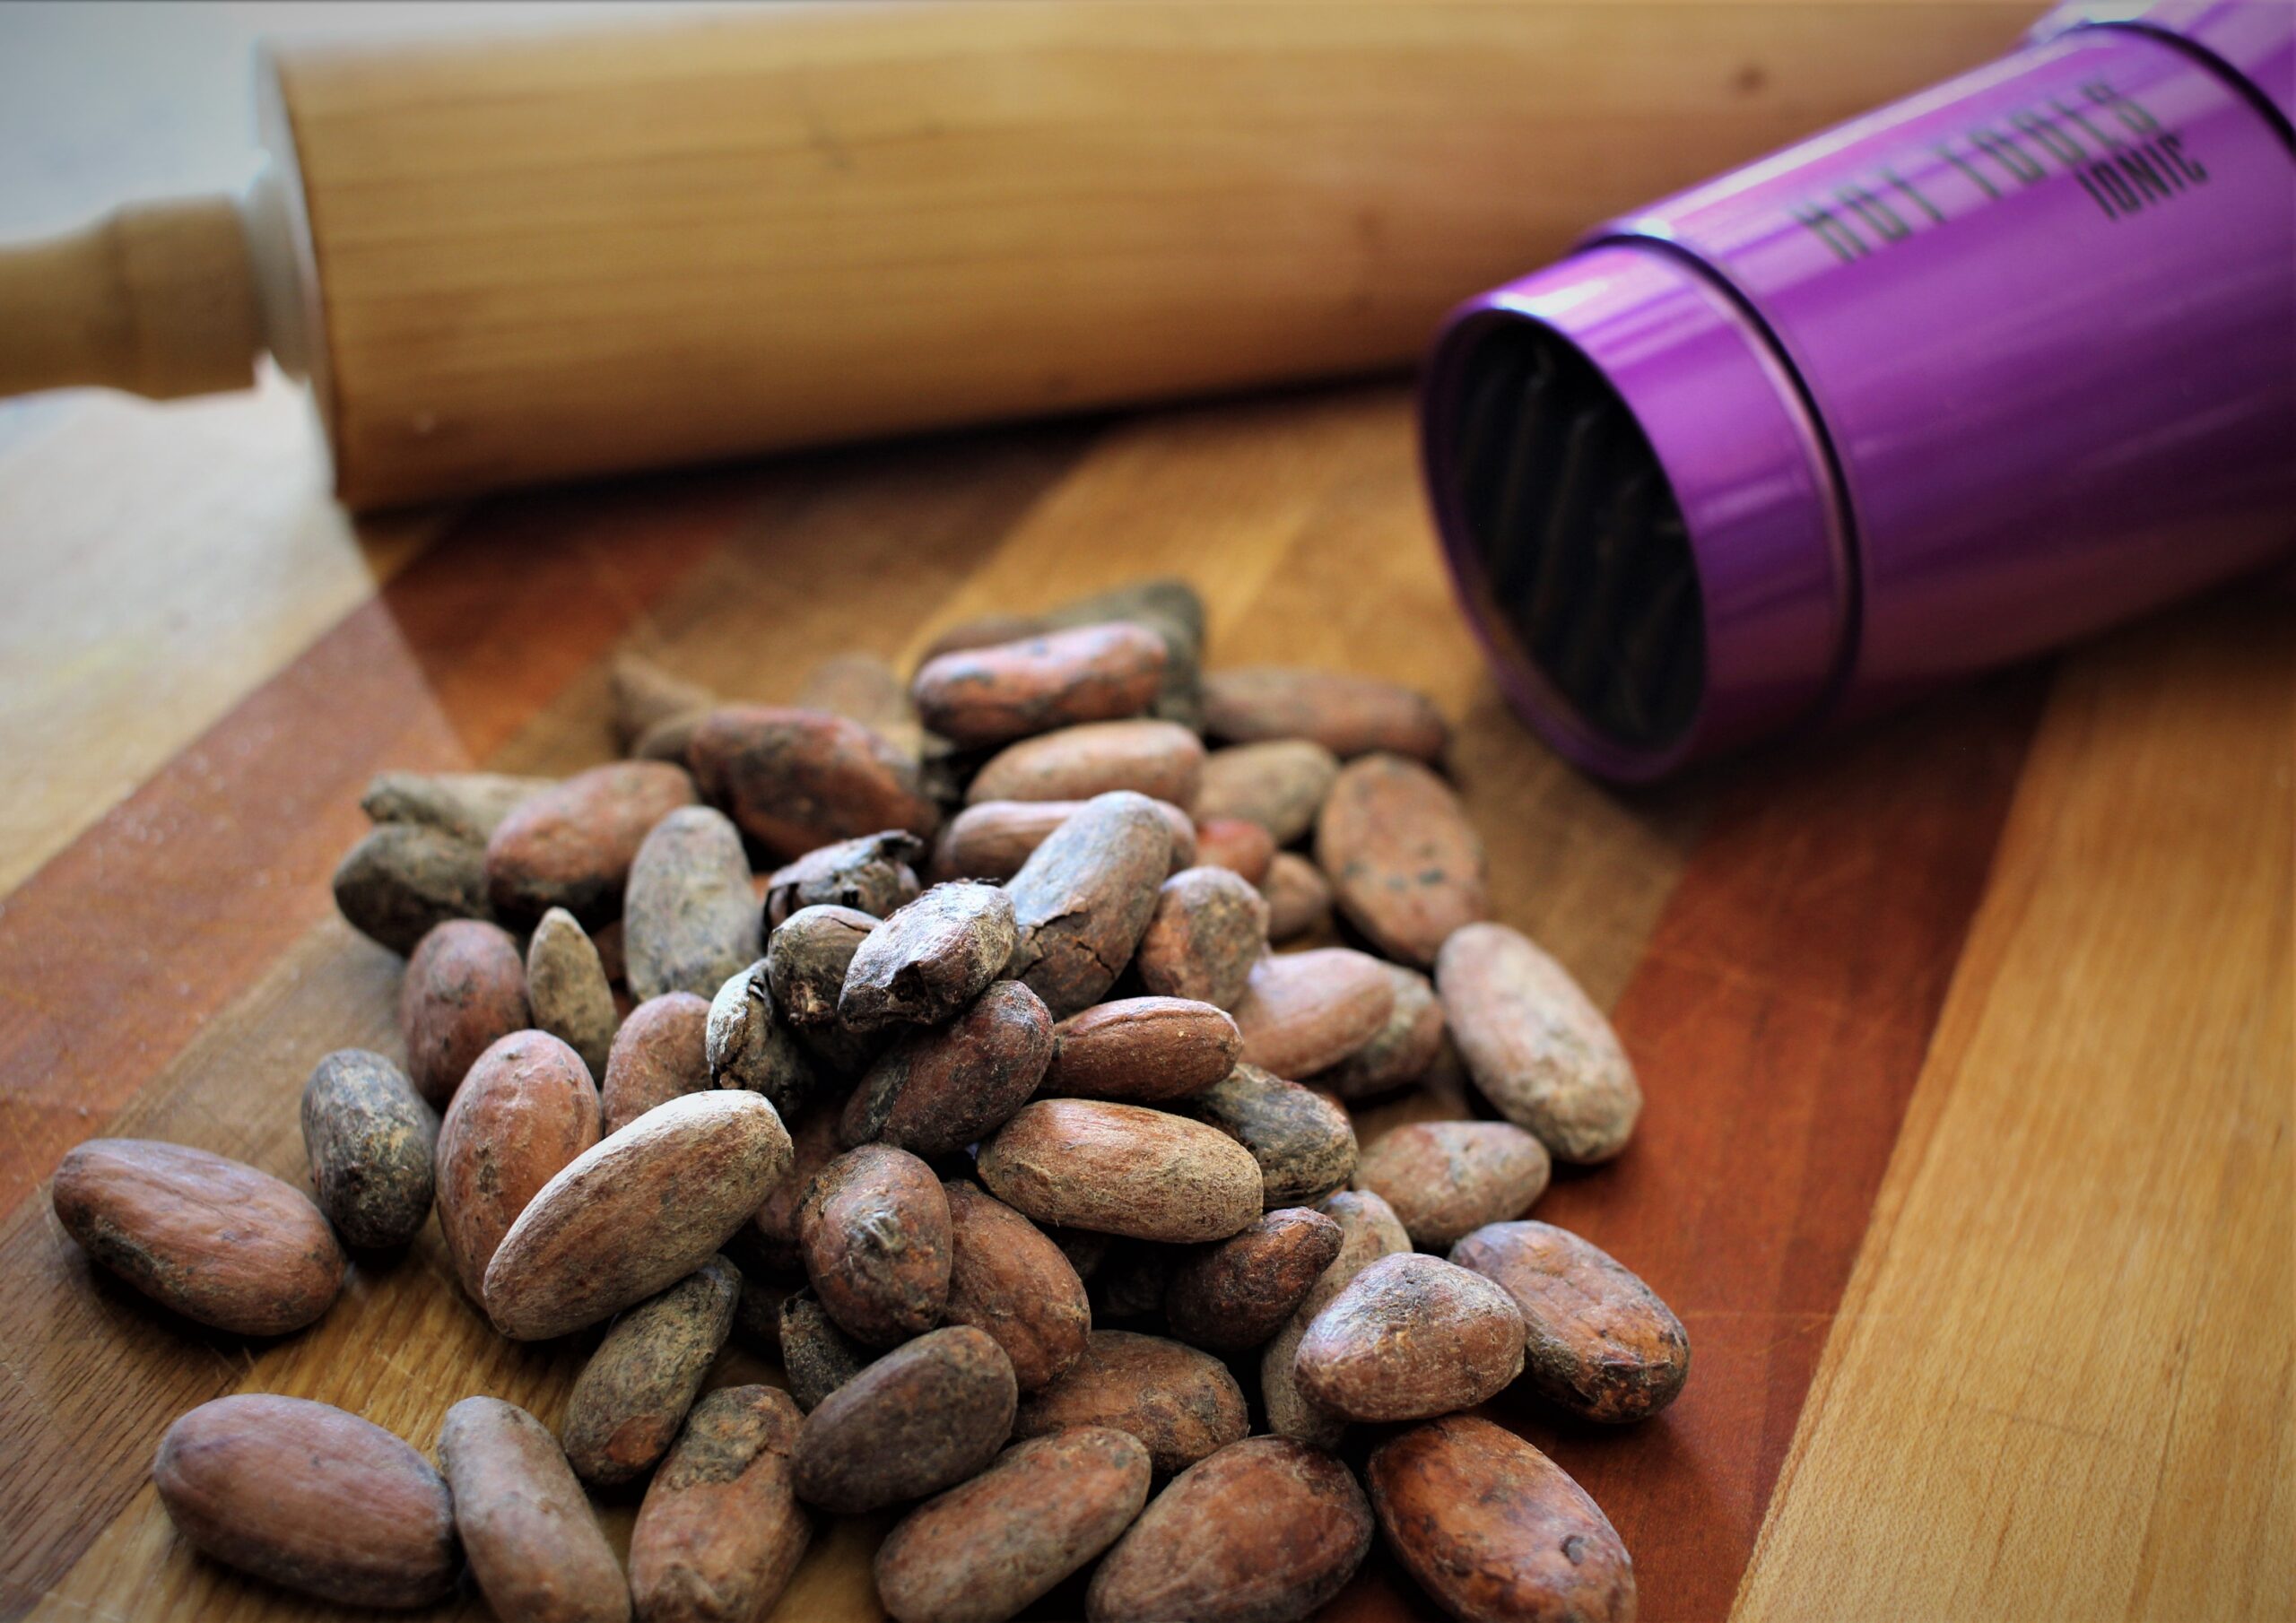
For best (and most efficient) results, I recommend putting your roasted beans into a sealed plastic bag. Using a heavy rolling pin, smash the beans into small pieces, or nibs. Using a cheap wooden rolling pin will likely only lead to frustration. Ask me how I know.
To remove the shell fragments from the nibs, pour the beans/shell fragments into a large mixing bowl. Use a hair dryer to blow the lighter pieces of shell away from the heavier nibs. The shell should fly out of the bowl, leaving the nibs safely inside. A fancy dryer is not needed; I found the one I had in high school before I realized blow drying curly hair is futile. It worked fine for this process. I recommend doing this outside or in your garage, as shell pieces will fly all over!
Step Four, refining/conching
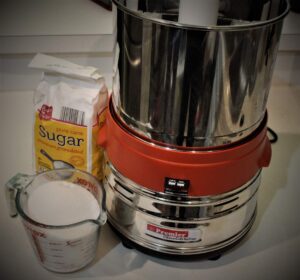
Refining and conching are simply the processes of breaking down the chocolate to make it smooth and allowing the flavor to develop into one you find pleasant. Although I have heard that it is possible to use a high-quality juicer, blender, or peanut grinder for the refining process, I followed the advice of the wise folks at Dandelion Chocolate and purchased a mini melanger to do both. If you want to learn about using a melanger, skip to the next paragraph. If you would like to save money and don’t mind doing some manual labor, this video explains using a metate or mortar and pestle to refine chocolate.
The manufacturers recommend adding the cacao nibs to the melanger slowly, while pointing your hair dryer at the metal drum to warm it. Make sure you are pointing at the outside of the drum and not the inside, or you will end up with a face full of nibs. I let my cacao spin for an hour before adding sugar. As I wanted dark chocolate (around 70%), I used the following formula:
(weight of cacao/.7) – weight of cacao = sugar
(16/.7) – 16 = 6.85
This means that one pound (16 ounces) of cacao makes 22.8 ounces of 70% chocolate if you add 6.85 ounces of sugar.
Recommendations for refining time depend on the bean profile and the type of flavor you desire (from about 8 to 24 hours). My beans for this batch were refined for 23 hours, as I fell asleep and forgot about them until the next morning. Fortunately, this led to a tasty flavor. You will likely want to experiment with length of your refining process to find what works best for your tastes and your beans.
Step five, temper and mold
The final step is to temper your chocolate. Tempering is controlling the rate at which your chocolate cools so that it will form a stable structure. This step is not needed if you plan to eat the chocolate right away. If you plan to give it away or eat it later, you want to temper to extend the shelf life.
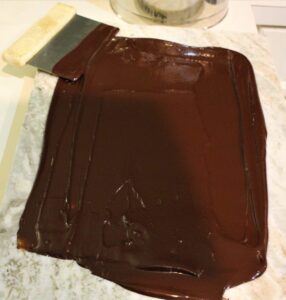
I recommend using a marble slab to cool your chocolate. They are sold at most kitchen stores for around $40. If you are cheap like me, try going to a countertop installation business and ask to see their trash pile/scraps. Doing this got me a large marble slab for $8.
Pour your melted chocolate onto the slab and use a kitchen scraper to work the chocolate back and forth across the surface. As the chocolate cools, it will go from glossy to dull as it begins to temper. At this point, pour into molds, if desired. Place them in a refrigerator to cool and take shape.
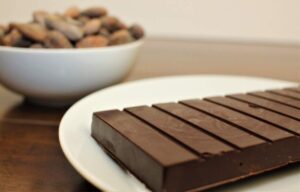
That’s it… five simple steps! If your batch was successful, these bars make great holiday gifts. I’d love to see posts of your chocolate bars turn out below!
Looking for freshly roasted cacao? Although we won’t be at the Orange City, IA farmer’s market this summer (2025), we’ll be selling extra produce at our roadside stand in Alton. Feel free to reach out if you’re looking for anything in particular! We can be reached at [email protected].
Related to products mentioned above:
I have no financial ties to any of these companies, other than purchasing their products.
The book “Making Chocolate” by Dandelion Chocolates is absolutely worth every penny, whether you are looking for additional chocolate tips or simply seeking beautiful photographs of tropical landscapes.
I purchased my melanger from Diamond Custom Machines due to its size (it fits on my countertop). When I initially tried to purchase, it was out of stock. However, the company responded quickly to my emails, let me know as soon as it was available, and shipped the product in secure, heavy-duty packaging. I have been impressed with the smoothness of chocolate created with their product thus far.


2 Comments