


There are many reasons to grow great turmeric: it flavors delicious food, it is a medicinal power house, it can be used as a yellow dye, and it produces showy, tropical foliage for the better part of the year. It is virtually pest-free and heat-resistant. For those with a shorter summer, turmeric is perfectly happy in a large pot that can be transported inside when the temperature cools. Additional information about growing turmeric in cool climates is available here.
This post will cover how to plant and harvest common turmeric, curcuma longa. For information on growing additional varieties, such as curcuma caesia or curcuma amada, click here.
Where to find
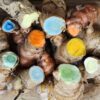
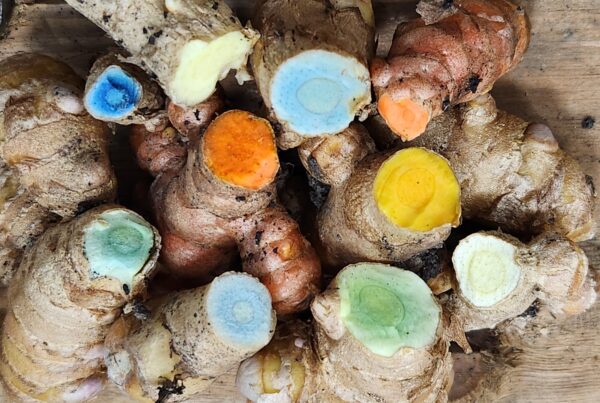
Turmeric rhizomes can be sourced from a local grocery store or from a reputable garden center. I have planted ginger and galangal rhizomes from local Indian and Oriental markets with success. However, any turmeric I have purchased from a grocer has molded or otherwise failed to sprout. Thus, I recommend purchasing your first turmeric rhizomes from a trusted nursery. There are many different colors of turmeric (curcuma longa) rhizomes, with orange being the most common.
How to plant
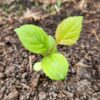
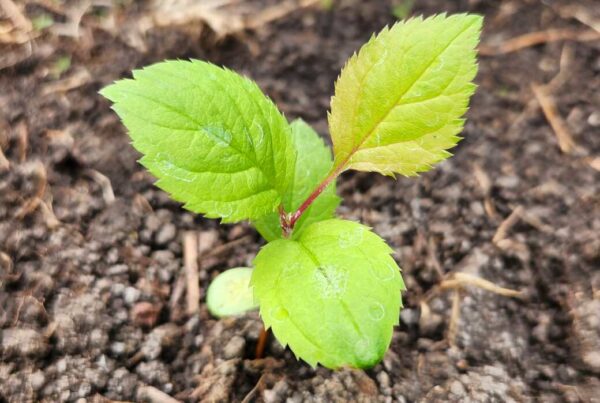
Once you acquire turmeric rhizomes, plant them in good soil, about 1″ deep. If they are already germinating, place the sprouting side up. If not, make sure at least one bud/nub is facing up. Water regularly (although do not let the rhizomes sit in water or they will rot) and be patient. The first year I planted turmeric, I thought my rhizomes were duds after a month. I almost gave up on them. To my surprise a few weeks later, all sprouted and began to grow vigorously. I have seen some websites suggest partial shade for turmeric, but mine have thrived in full sun.
Turmeric rhizomes will typically not sprout until the soil is consistently 75 degrees or above. If you do not live in the South, I recommend starting the rhizomes inside on top of a plant heating mat in order to provide a long enough warm season. Estimates I have read suggest that turmeric needs at least seven months to properly mature.
Turmeric plant care
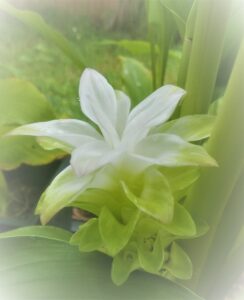
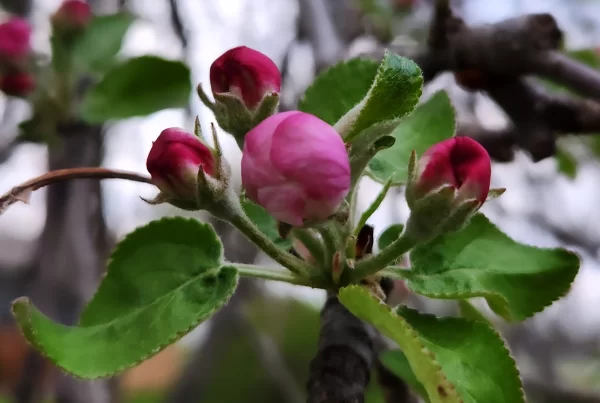
Once your turmeric has sprouted, water whenever the soil is dry. In my experience, turmeric tolerates almost any type of soil, but will be most prolific in nutrient-dense soil. I typically see bigger rhizome yields in the plants that I have in pots than those grown in the sandy soil of my front yard (see below photo). Those in good soil are also more likely to produce flowers, which will brighten your garden or patio for several days.
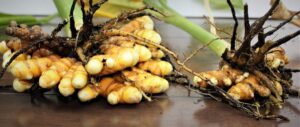
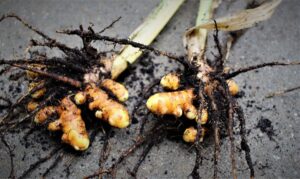
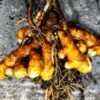
Turmeric is ready for harvest when your plants yellow and wilt. As the majority of rhizome production occurs late in the season, I do not recommend digging up your plants until you are certain the foliage is mostly dead. If in doubt, wait a bit longer. After removing a plant from the ground, shake off the extra dirt, and then snap off the brightly colored rhizomes. These can be used in recipes, dried for use as medicinal supplements, or saved in a dry location to plant next spring. The spherical mother root can be saved to plant also. The mother roots generally sprout faster and are more likely to flower the following year than plants started directly from new rhizomes. Chop the stems off this root and add to your compost, or use as a nutritious mulch.
Looking for turmeric rhizomes? Although we won’t be at the Orange City, IA farmer’s market this summer (2025), we’ll be selling extra produce at our roadside stand in Alton. Feel free to reach out if you’re looking for anything in particular! We can be reached at [email protected].
Have you found other ways to grow great turmeric? If so, feel free to share below!


2 Comments