
In this post I will advocate for growing oyster mushrooms in jars. If you talk to any number of mushroom growing enthusiasts, you will likely hear many ideas for growing strategies. Some growers love outdoor straw beds. Others love plastic grow bags or monotubs or plastic buckets with drilled holes. You can be successful with any of these strategies. However, I find glass jars to be the best choice for the home grower due to size, ease of use, and reusability. This post focuses on oyster mushrooms, but many other mushrooms can be grown in jars as well.
Mushroom Growing Tools
You will need some basic supplies to be a successful mushroom grower.
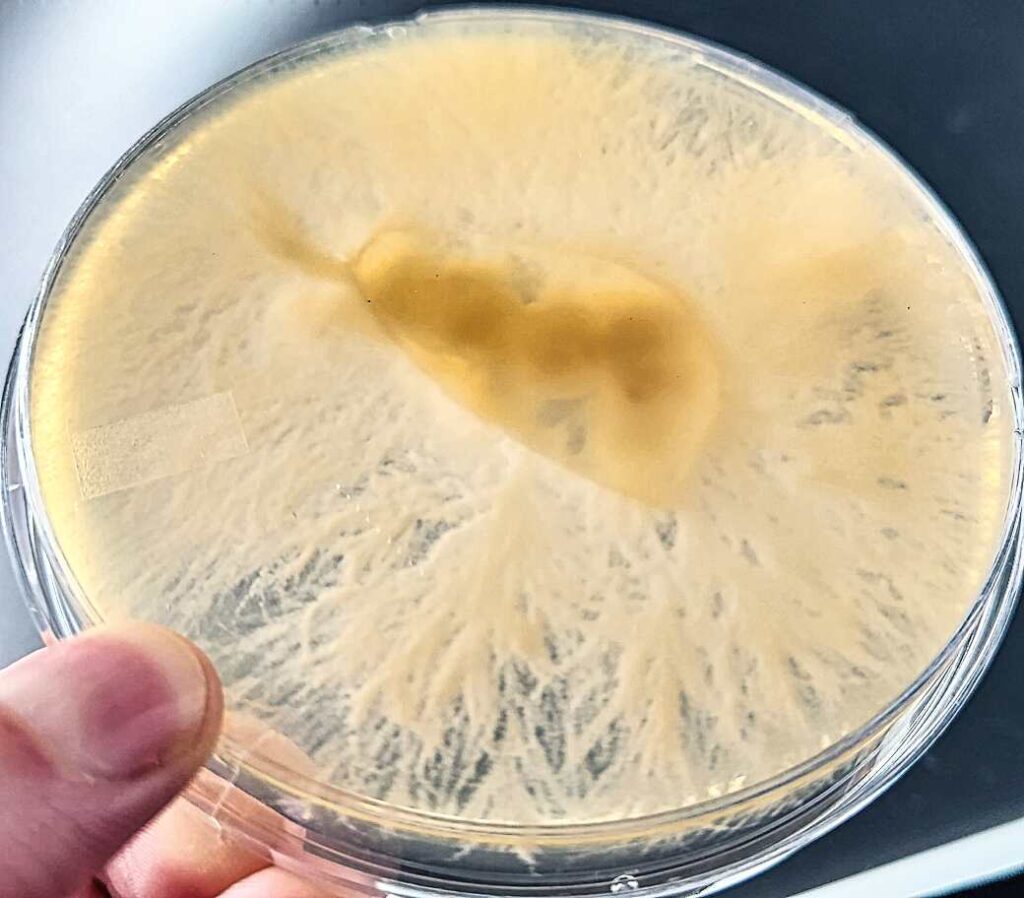
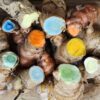
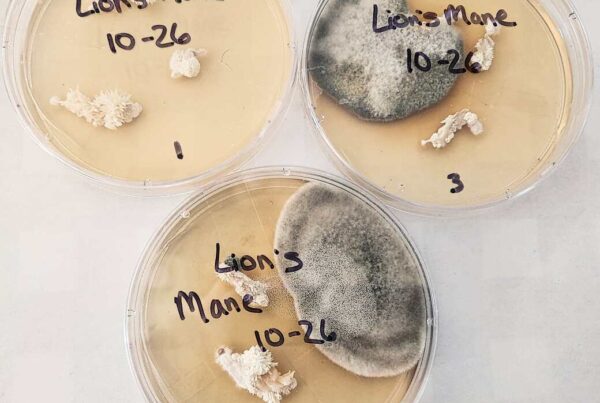
First, and most importantly, you will need some form of mushroom culture. This post details how to make your own mushroom culture from fresh mushrooms (please note, King Trumpet mushrooms are part of the oyster genus). You can also purchase liquid cultures or plate cultures from several online retailers. Be sure your culture is clean/non-contaminated; if not, you may end up growing mold rather than mushrooms. Below is a picture of clean mycelium growing on an agar plate.
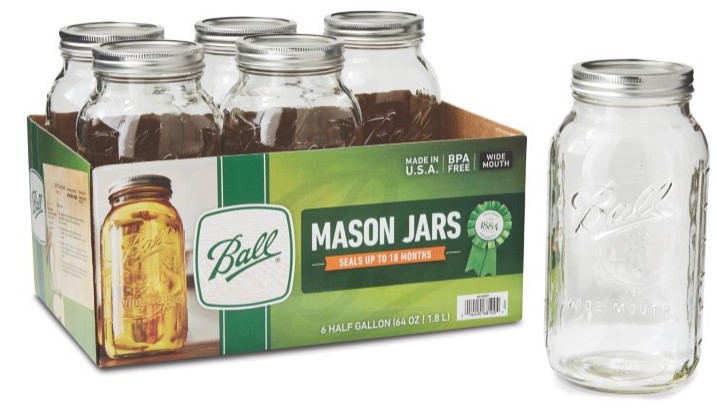
Second, you will need containers in which to grow your mycelium and fruit your mushrooms. These containers should be durable and easily cleaned. I recommend using these half-gallon mason jars for ease of sterilization. The main reason I use the half-gallon size is that they hold more substrate than smaller jars, allowing for a larger harvest. However, I understand that some pressure cookers do not accommodate this size jar. No matter which size you choose, I recommend using wide mouth for a couple of reasons. It is easier to get colonized substrate out of wide mouth jars. Additionally, wide mouth jars give your mushrooms more room to grow when it is time to fruit.
In order to allow proper airflow for your growing mycelium, you will need to punch or drill 1-2 small holes in your jar lids. Then, cover the holes with a material that will filter out contaminants. You can use stickers made for this purpose, micropore tape, or a cotton ball. I typically use stickers for ease of use.
Third, you will need substrate to feed and grow your mycelium. Oyster mushrooms will happily grow on grains, straw, or wood. Some home growers will mix grains and wood together. Others will put grain in jars to grow out their mycelium and later transfer to wood or straw for mushroom fruiting. Either method works fine, in my experience. You can choose from any whole grain, although I recommend rye berries or popcorn. Wood pellets also work well.
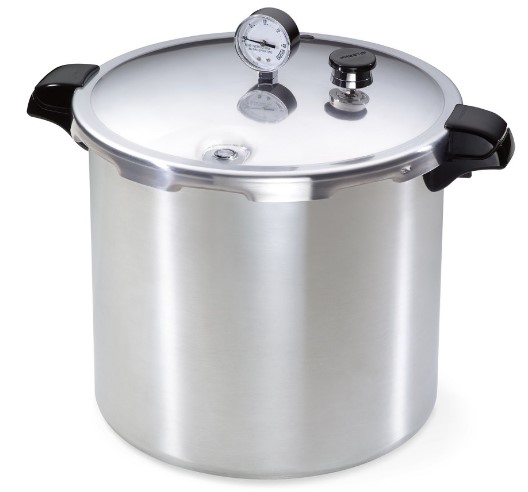
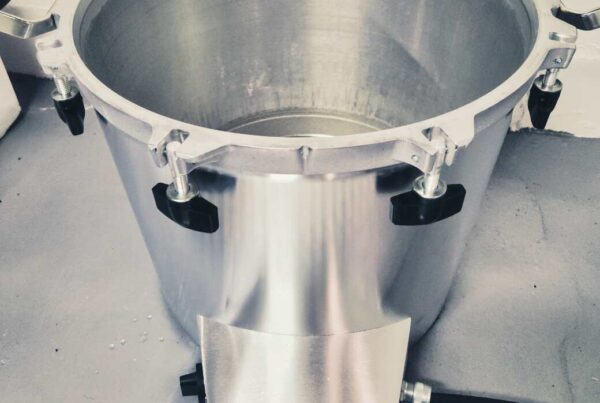
Fourth, you will need a method to sterilize your substrate. I use the Presto 23-Quart Pressure Canner. This model is affordable, simple, and tall enough to pressure can half-gallon jars, which are what I typically use for growing mushrooms. If using straw, you may have success by simply boiling it. If using grain or wood, you will likely want to sterilize with a pressure canner or pressure cooker in order to ensure any contaminants are dead.
Sterilizing Substrate
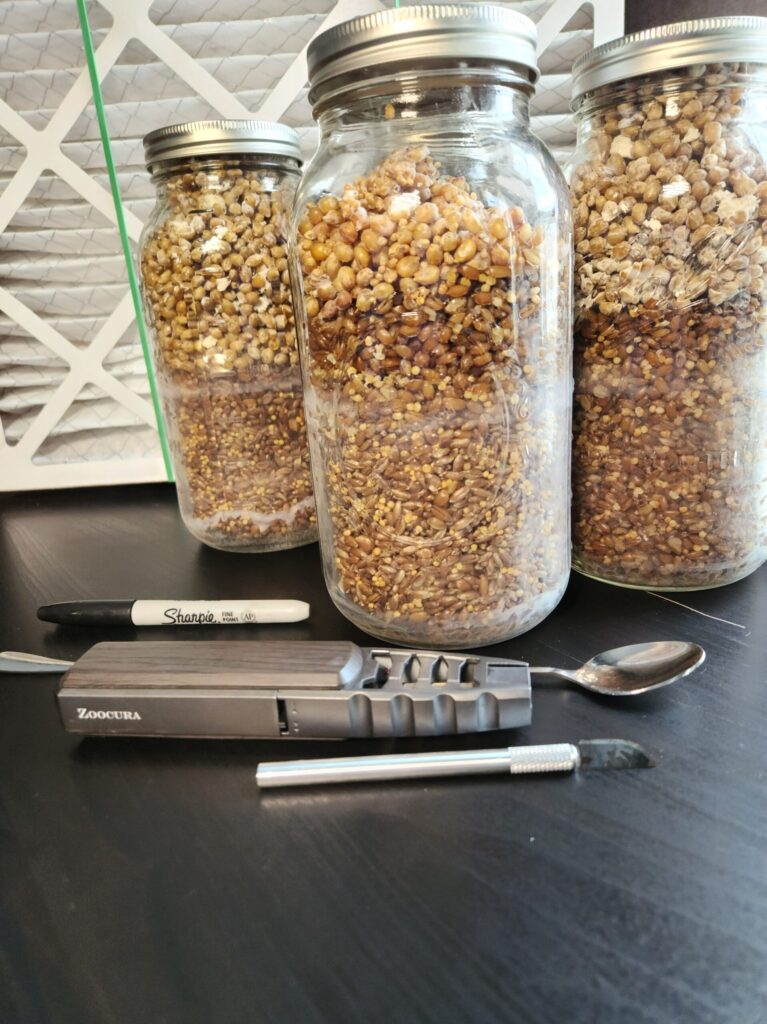
My Presto 23-Quart Pressure Canner can hold 4 half-gallon jars. In order to fill these jars approximately 2/3 full, I typically need to use between 6-8 cups of grain and/or wood pellets. (Please note that the exact measurement varies based on substrate. Wood pellets tend to expand much more in water than popcorn, for example). If using a pressure cooker or canner with smaller glass jars, adjust the amount of grain/wood accordingly.
In a large pot, add your grain and/or wood pellets. You may soak them beforehand for 12-24 hours (some books recommend this), but I have not noticed any benefit from doing so. Add sufficient water to fully cover your substrate. Bring to a boil and let cook for 20-30 minutes.
Transfer the substrate into 4 half-gallon jars (if using the same setup as me). I like to use a slotted spoon and drain the water off the grain/wood this way. You will not want any sitting water in your jars, as this will inhibit mycelium growth. Add lids to the jars. I like to put my lids on upside down for ease of removal after sterilization. Cover with tinfoil.
Sterilize your jars at 15 PSI for 90 minutes. Do NOT start your timer until PSI reaches 15. Please be sure to read your pressure canner’s instructions and familiarize yourself with its safety features BEFORE trying this step. After 90 minutes, turn off the heat and let the canner cool naturally. I will often let my jars cool overnight, as substrate that is too hot will kill the mycelium. Once your jars have cooled, transfer them to the location where you will add your mushroom culture.
My Semi-Sterile Setup
To increase your changes of growing mushrooms rather than mold, I recommend using a semi-sterile process for transfer. No, you don’t need to spend thousands on a laminar flow hood or a fancy autoclave for your tools. Here’s my $100 semi-sterile setup:
To create clean air for my work area, I purchased a used box fan ($20) and a 20″x20″ air filter rated MERV 13 ($40). I then attached the air filter to my fan with trash can-sized rubber bands ($5). I always work in front of this fan/filter combo. Sterile materials are placed closer to the fan and anything less sterile is father away.
I purchased a small butane torch ($20) to sterilize my scalpel ($5) and long-handled spoon ($5). Place your scalpel in the flame of the butane torch; when the tip glows red, it has been sterilized. I use the scalpel to cut samples from petri dishes and the long-handled spoon for scooping material out of tall jars. You can use other tools if you prefer, as long as they can withstand sterilization.
To avoid contaminating my materials, I additionally wipe down all work surfaces with rubbing alcohol. I wear sterile gloves and a mask over my nose and mouth. I avoid talking or singing while doing any transfers.
Mushroom Culture Transfer
Place your sterilized grain and/or wood jars in front of your sterile setup. Be sure sterile material is closer to your fan/filter combo than non-sterile material. Then take your mushroom culture (from your petri dish clones or homemade/purchased grain spawn) and place it closer to you. Use your butane torch to sterilize any tools to be used for transfer (i.e., a spoon or scalpel). Remove the lid of your sterile substrate jar. Slice 1-2 small pieces from your petri dish (see photo below; you can inoculate several jars with one petri dish of mycelium) using a sterile scalpel. Or, if transferring grain spawn from another jar or bag, use a sterile long-handled spoon to place 3-4 scoops of grain spawn into your sterile substrate. Replace the lids on your jars. Shake to distribute the mushroom culture throughout your grain or wood substrate.
Waiting for Growth
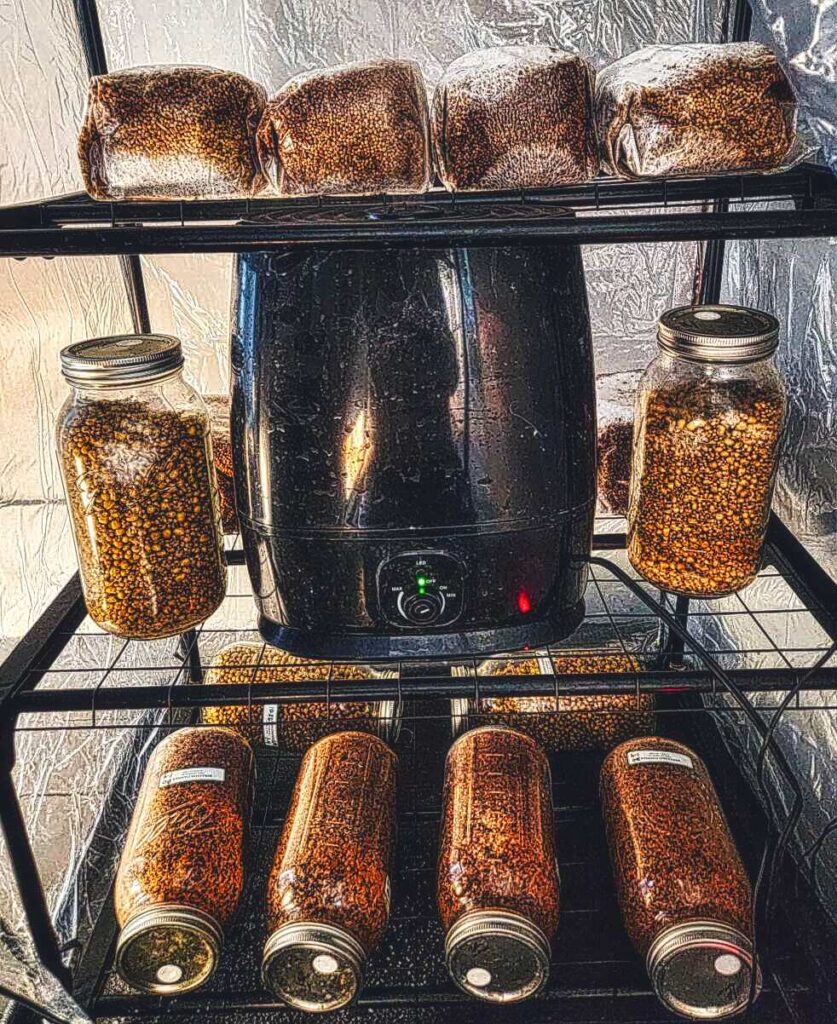
Transfer your inoculated jars to a semi-dark, humid environment (80% has worked well for me). A room temperature (65-75 degrees) area is best during this stage. To ensure high levels of humidity, I store some of my jars on a shelf with a humidifier. The entire shelf is covered with thick plastic to trap the humidity. This is not necessary; however. Oyster mushrooms are vigorous growers and seem to thrive when simply placed on a shelf near a humidifier.
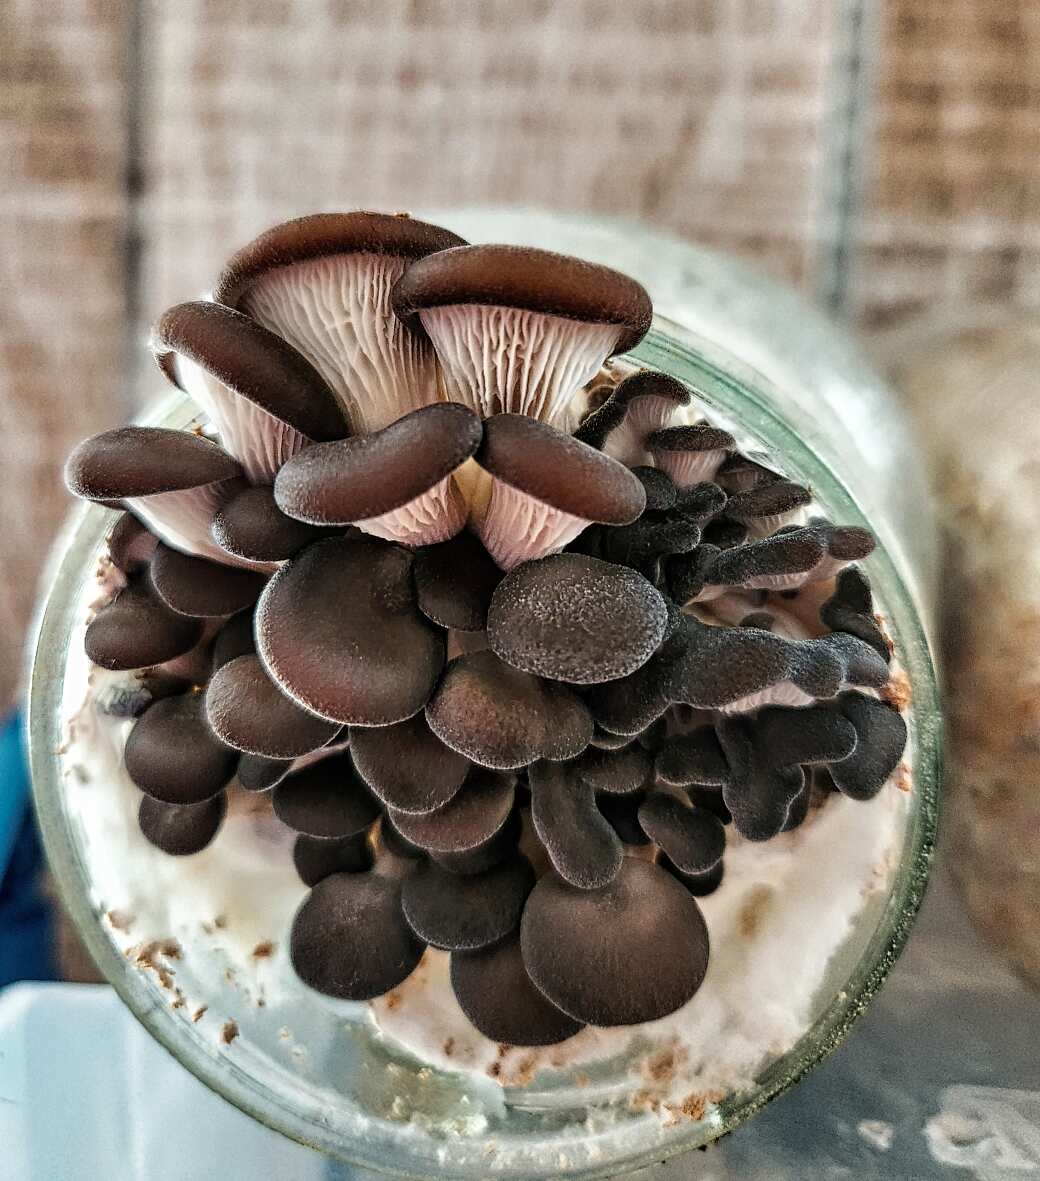
Once your substrate has been taken over with mycelium, you will want to transfer to a cooler location. This will tell the mycelium that it is time to fruit. For cool-loving oysters, such as blue oyster or snow oyster, I recommend placing in a cool basement or unheated patio. Temperatures between 40 and 60 have worked well for me. Remove the lid of the jar and place on its side, as oyster mushrooms prefer side-fruiting. The mycelium should smell somewhat sweet and mushroom-like. Any strongly off-putting smell suggests contamination.
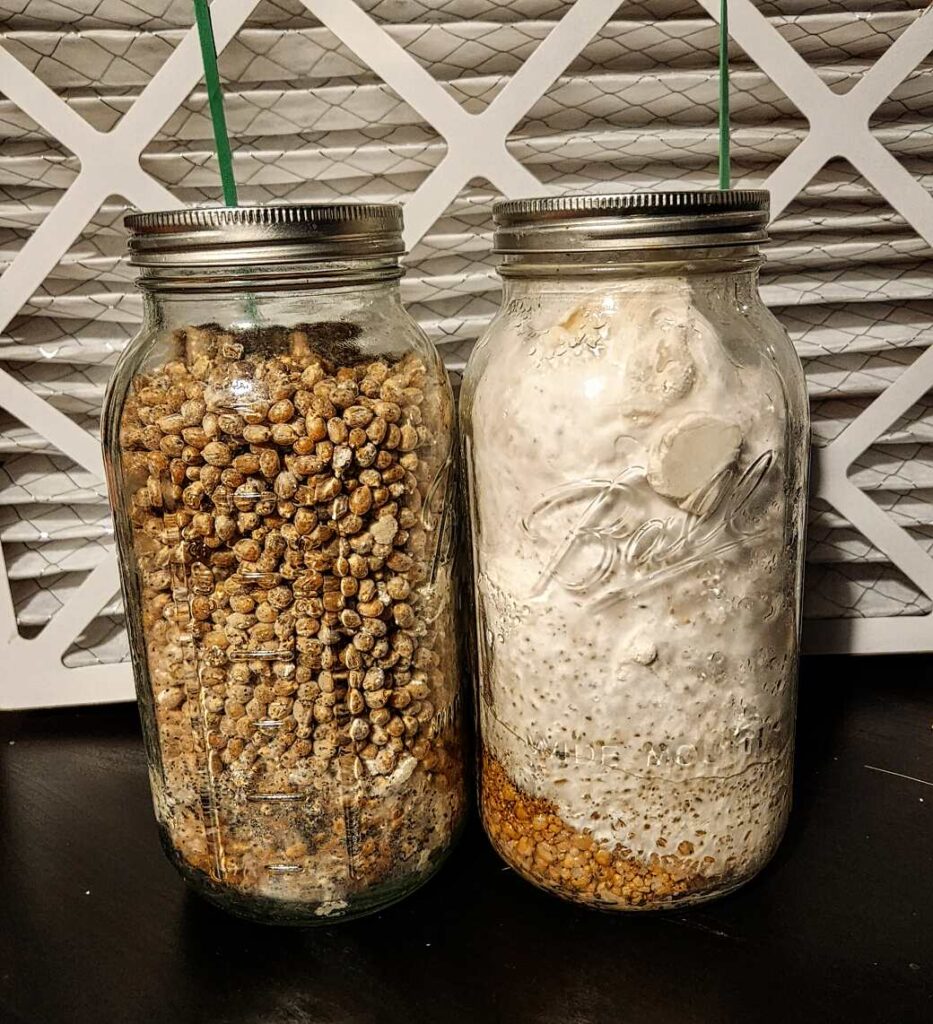
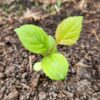
In the picture above, the jar on the right side is ready to fruit or transfer. If you are looking to expand your materials, you can use this substrate to inoculate more grain and/or wood jars. On half-gallon jar will easily inoculate 4-6 additional jars. The picture below shows blue oyster mushrooms beginning to pin, or fruit.
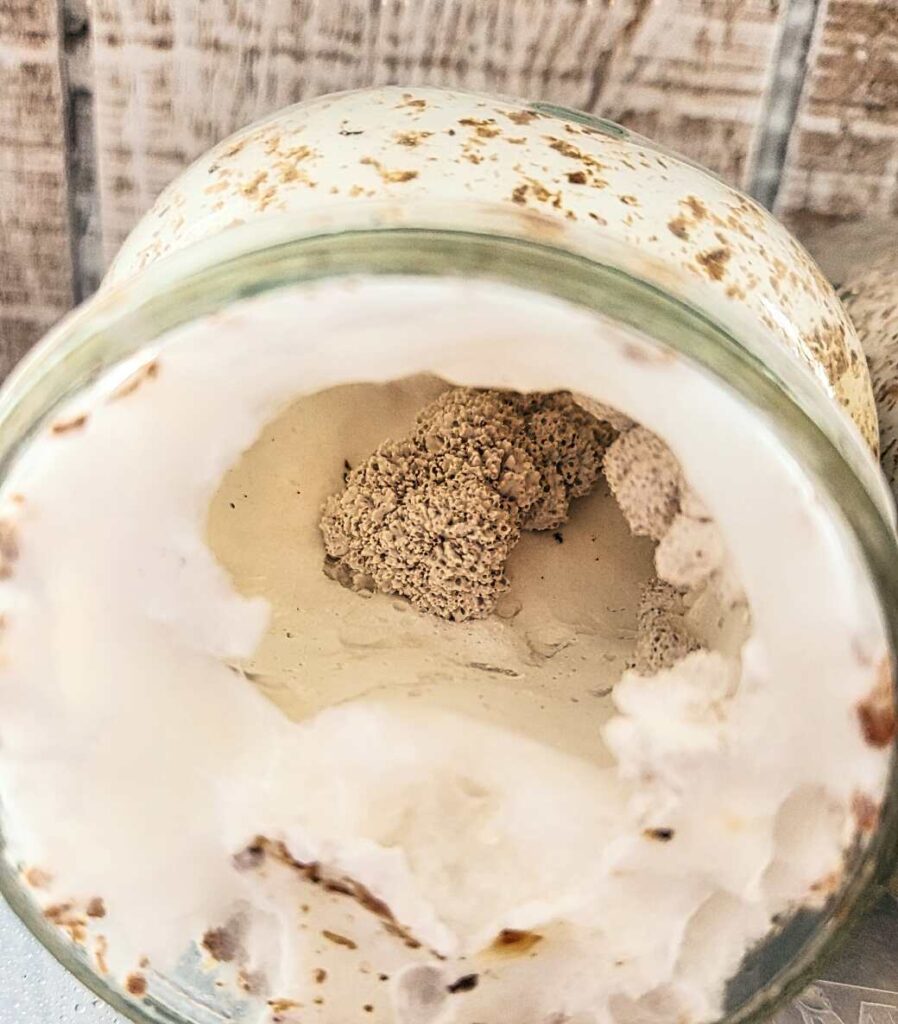
Mushroom Fruiting
If conditions are right, your jars will fruit in 2-3 weeks. Pins will form first, and then small mushrooms will start to grow. The size of your mushroom harvest will depend on the amount and quality of substrate, as well as the environmental conditions.
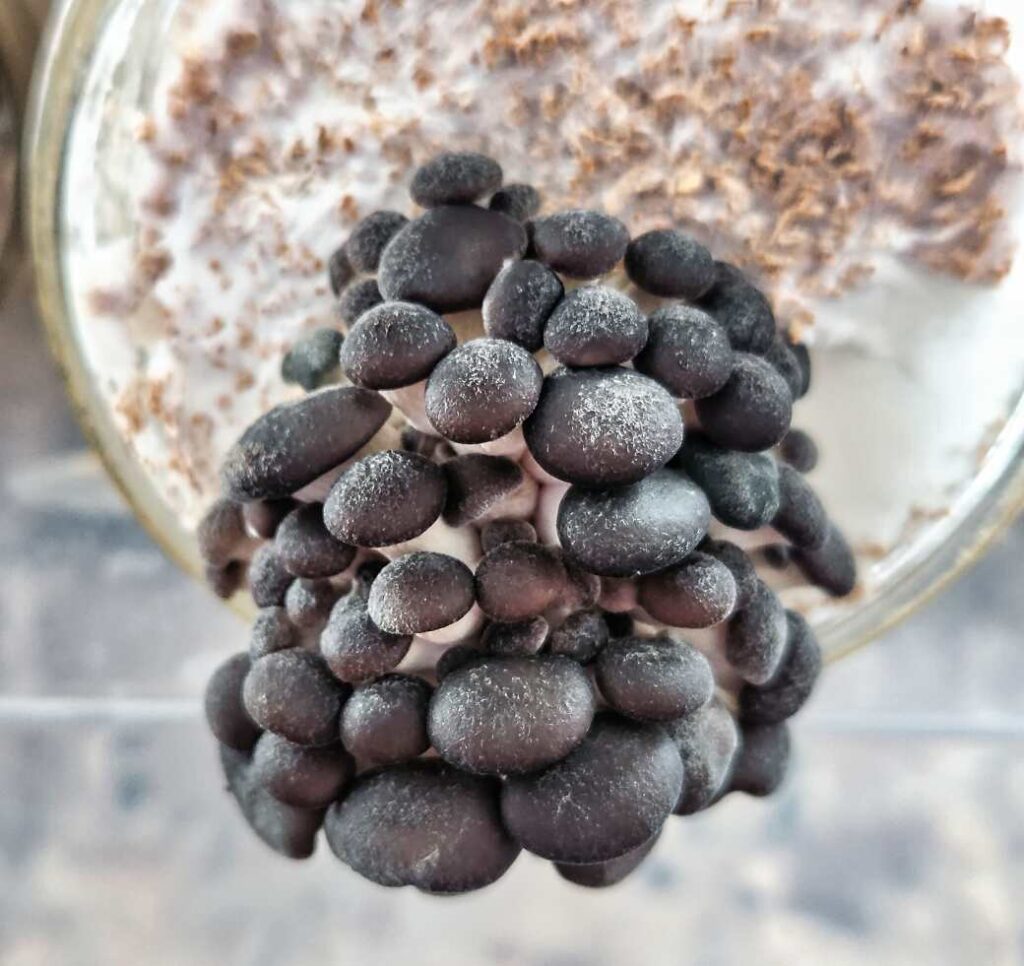
Below is a successful flush of blue oyster mushrooms. To harvest, cut off with a knife. Then cook and enjoy!
A second flush is often possible. To encourage your jar to fruit a second time, soak your jar in water to simulate a rainstorm and wait. Used substrate can be re-sterilized and used for a different type of mushroom, or can be placed in the garden to add nutrients. Paul Stamets’ book, Growing Gourmet & Medicinal Mushrooms has a chapter specifically dedicated to this topic.
Looking for a delicious way to use your fresh mushrooms? Try this recipe for Mushroom Risotto, which can be made with oyster or king trumpet mushrooms.
Although we won’t be at the Orange City, IA farmer’s market this summer (2025), we’ll be selling extra produce at our roadside stand in Alton. Feel free to reach out if you’re looking for anything in particular! We can be reached at [email protected].


2 Comments